Sephiria Chapter 2 Boss Guide
Grassland finales — Lataka bullet hell versus Lerid assassination patterns and route variance.
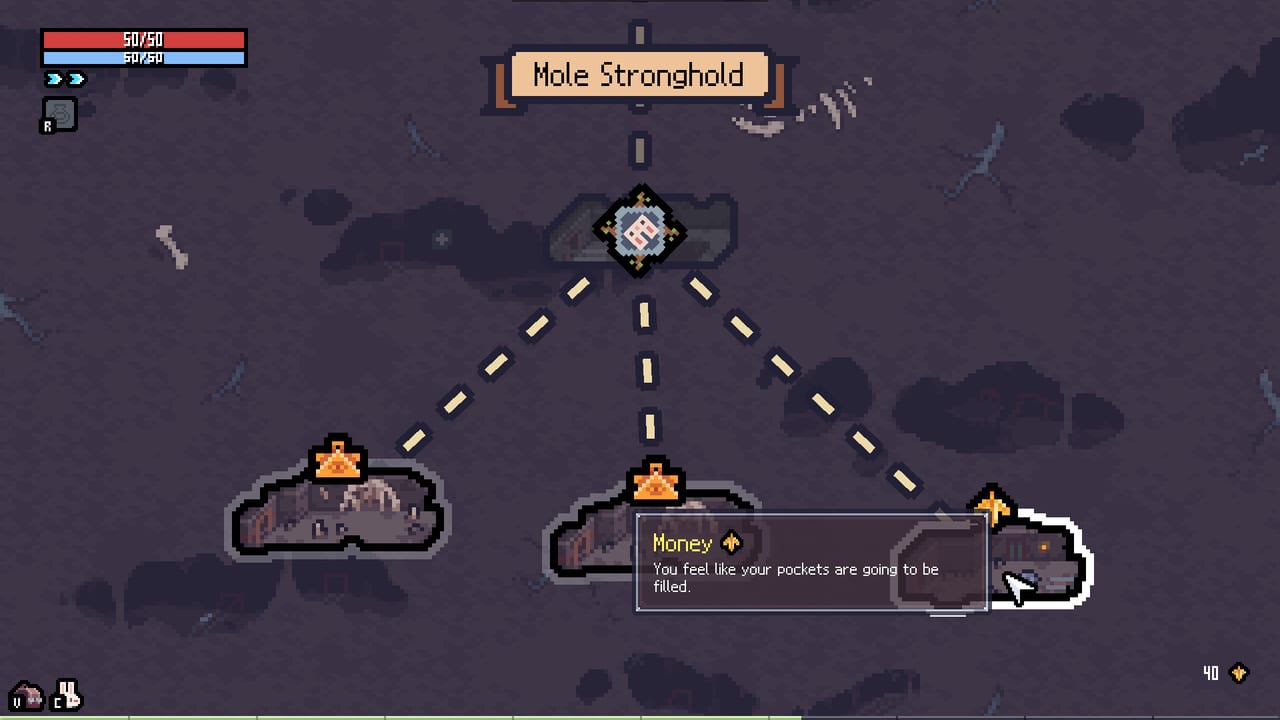
Grassland raises projectile density
Chapter 2 moves Sephiria from Mole Base tunnels into open grassland arenas where projectile volume jumps. If Chapter 1 taught you to dodge lines, chapter two asks whether your weapon branch and inventory grid can sustain uptime while bullets fill horizontal space. TEAM HORAY uses this chapter to split melee nightmares from ranged-friendly finales — build honesty matters more than raw Destiny Inscription spending.
Enter from Bunnyville with habits from Controls and Getting Started. Co-op up to four players is available through the Mysterious Door, but grassland readability drops when everyone stacks center — assign frontline and ranger roles early using Companion Build ideas even if you do not run full support grids yet.
Lataka — barrage finale
Lataka is the grassland boss many melee players describe as a barrage nightmare. Horizontal bullet streams, fan spreads, and jump-linked projectiles punish face-tanking and greedy punish windows. The fight rewards:
- Perpendicular movement through gaps, not backward retreats into arena edges.
- Stamina discipline — dodge chains beat one long roll into a second volley.
- Ranged uptime — Crossbow and Staff players often find Lataka easier than Greatsword or Dagger mains because they can maintain DPS while kiting.
If you wipe repeatedly on Lataka with a melee grid, consider whether the problem is pattern literacy or branch mismatch. Sometimes a Side Bag swap toward sustain artifacts from Combo Effects helps; sometimes you need five minutes of dodge-only observation before attacking.
Telegraph families: watch for wind-up color on hands or weapon before each wave. First wave is usually readable; later waves stack speed. Save Miracles & Potions for accidental floor hazard overlap, not routine barrages you should dodge.
Lerid — shadow sword assassin
Lerid replaces Lataka on some routes with a chance-based encounter — not every grassland finale is Lataka. Lerid fights like an assassin:
- Shadow sword teleports with short wind-ups — listen for audio cues if visuals clutter.
- Burst melee combos after reposition — punish only when you see recovery frames, not during blink chains.
- Lane control using dashes — Lerid wants you to panic into corners where grassland edges mimic Mole Base mistakes.
Melee players who struggled on Lataka sometimes prefer Lerid because the fight is burst-trading instead of bullet density — but Lerid punishes slow grids harder during DPS checks. Keep tablet proc lines online from Tablet Combinations.
Askard foreshadowing (no spoilers)
Grassland routes begin threading Askard — the cult leader who headlines Chapter 4 wasteland — through commission dialogue and environmental storytelling. Early chapter two text establishes that a fanatical order manipulates the regions you traverse without revealing endgame twists.
Treat Askard mentions as foreshadowing, not a reason to skip chapter two mechanics. When you eventually fight Askard, the grassland lessons about spacing and projectile reads still apply.
Lataka versus Lerid — route planning
| Boss | Melee difficulty | Ranged difficulty | Skill emphasis |
|---|---|---|---|
| Lataka | High | Moderate | Gap finding, barrage rhythm |
| Lerid | Moderate | Moderate | Blink reads, burst punish |
You cannot always pick the boss at the door — roguelite routing decides. Prepare both patterns mentally before the grassland finale room.
Loadout checklist
- Grid — zero dead cells; sustain proc from artifacts if melee.
- Weapon — committed branch; check Tier List only after honest attempts.
- Potions — one health for learning; cleanse rarely needed here.
- Co-op roles — ranger handles add angles, frontline holds boss facing.
- Patch awareness — Patch 1.0.23 fixed multiplayer weapon effects; verify co-op damage if party play.
Common wipe causes
- Center stacking during Lataka fans in co-op.
- Greedy melee during Lerid blink chains.
- Empty tablet line — long grassland routes drain time before finale.
- Potions burned on trash — none left for learning phase two density.
- Ignoring commission cues — rushing boss without stamina from prior rooms.
Progression forward
Chapter two validates whether your Chapter 1 dodge homework stuck. Next, Chapter 3 library bosses introduce multi-phase golems and rotating lasers — harder hitbox literacy. Hard Mode later stacks elemental modifiers atop the same grassland kits.
Related pages
- Bosses hub — index of chapter guides.
- Chapter 1 Bosses — Mole Base basics.
- Chapter 3 Bosses — library finales.
- Askard — cult leader climax in chapter four.
- Controls — dodge and parry fundamentals.
- Weapon Types — branch expectations under barrage pressure.
Grassland bosses separate players who dodge on rhythm from players who outgear patterns. Learn Lataka and Lerid honestly — Askard and Qliphoth assume you did.
Frequently Asked Questions
Quick answers to the most common questions.
Is Lataka harder for melee in Sephiria?
Yes. Lataka's barrage patterns punish face-tanking; melee must kite gaps while ranged branches often maintain safer uptime.
When does Lerid appear instead of Lataka?
Lerid can replace Lataka on some grassland finale routes by chance. Prepare both assassin blink patterns and Lataka bullet hell.
What does Askard have to do with Chapter 2?
Commission dialogue and cult foreshadowing appear in grassland routes, setting up Askard as the Chapter 4 wasteland boss without spoiling the ending.
How should co-op groups handle Lataka?
Spread during fan barrages, assign ranger add control, and call compass directions so four players do not share one safe tile.
What should I read after Chapter 2 bosses?
Move to Chapter 3 library bosses for Erma and Pantaxis patterns, or review Askard when approaching Chapter 4 wasteland.